

Auto PDF Document Generation
Business Background
Download the contents of a single webpage in a project as a PDF using a few clicks and no code. Alternatively, push a single webpage as a PDF to Salesforce.
Titan Solution
You can download the contents of your webpage as a PDF or push the PDF to Salesforce. You can download one webpage at a time. You can send the PDF to the customer (for instance, per email) by configuring the relevant condition according to your business needs.
How to Video
- 00:00 An introduction on how to configure Auto PDF.
- 3:23 See how to download a PDF.
- 3:51 Learn how to push the PDF to Salesforce.
- 4:56 Check out an example of an Auto PDF.
How to Guide
Project Settings > Tools > Document Generation > Gear icon > Configure Project Document Generation Settings screen
- Click on the Create New button. The Auto PDF Settings screen opens.

- Use the drop-down list to select the source page in your Web project.
- This is the page that will be saved as a PDF. You can only create a PDF of one page at a time.
- The Label field will be populated with the name of the source page.
- Edit the Label field, if necessary. The label is mandatory. You will select the template using this name in a later step based on this label.

You can do the following with the PDF:
Download a PDF
- Click on the Download option. The Enable Download toggle switch is on by default.
- Add a name for the document in the Custom file name field.
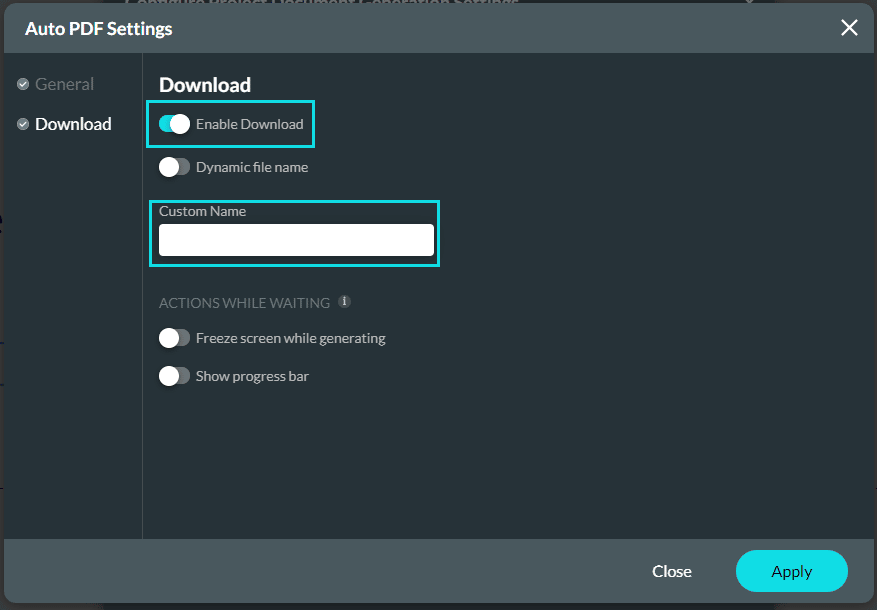
- As an alternative, use the toggle switch to switch the Dynamic file name on and then use the drop-down list to select a dynamic file name.
- Use the toggle switches to switch on the actions while waiting. The actions are off by default:
- Freeze the screen while waiting: the user will not be able to do any other actions on the page while the PDF is being generated.
- Show the progress bar: a progress bar is shown at the top of the page to show that the PDF is being generated.
- Click on the Apply button.

- Configure an On Click action, for instance, on a button.
- Click on the + icon on the On Click screen. The Add Node screen opens.
- Under User Interaction, click on the Document Generation option and click on the Next button. The Add Node/Document Generation screen opens.
- Use the drop-down lists and select the Auto PF template and the Download Action.
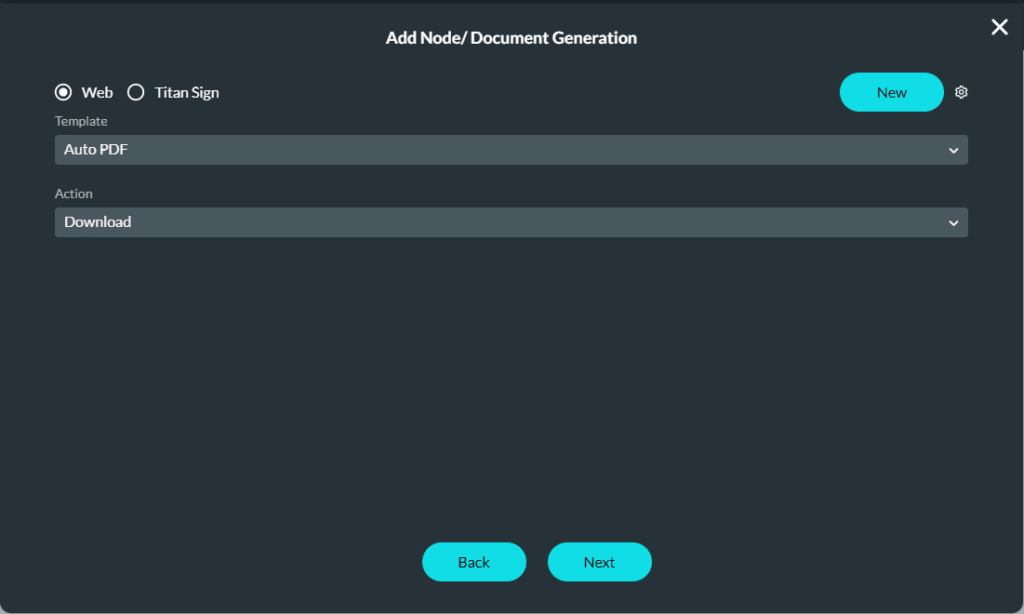
- Click on the Next button.
- Add a tag if necessary and click on the Insert button. The Document Generation node is added to the On Click screen.
- Click on the Apply button.
You can send the PDF as an email attachment:
On Click Action > User Interaction > Send Email > Create New > Attachments

Push the PDF to Salesforce
- Configure an On Click action, for instance, on a button.
- Click on the + icon on the On Click screen. The Add Node screen opens.
- Click on the Salesforce Action option and click on the Next button. The Salesforce Integration screen opens.
- Click on the Push option.
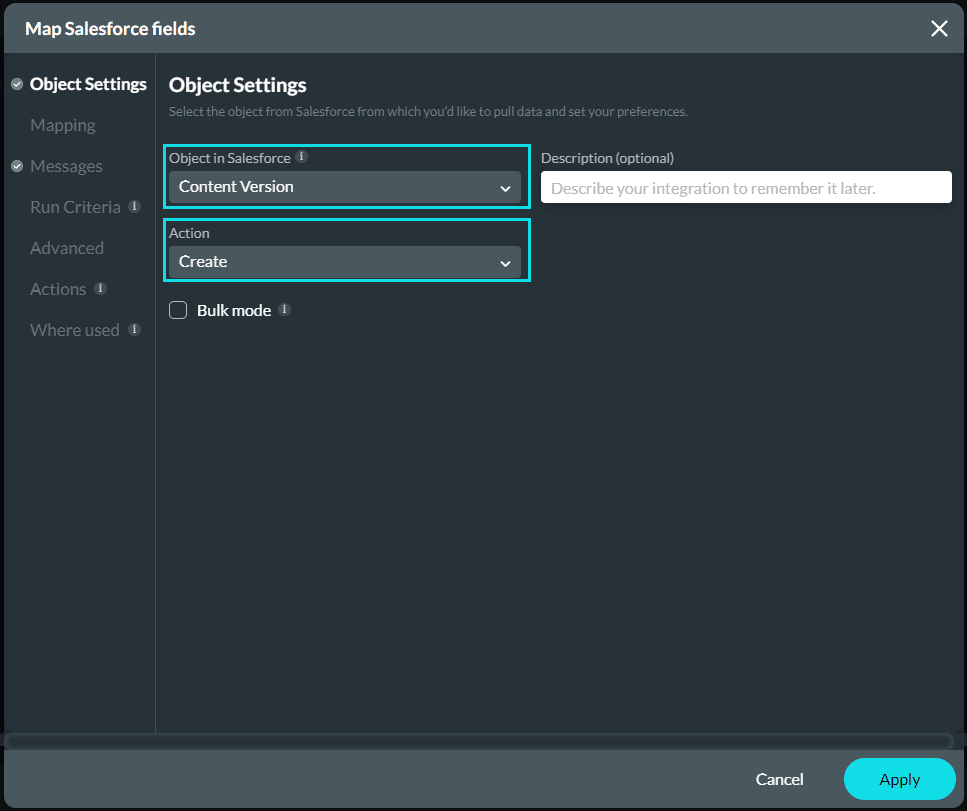
- Create a new Salesforce integration by clicking on the Create New button, or edit an existing integration by clicking on the Edit icon. The Map Salesforce fields screen opens.
- Under Object Settings, use the drop-down list to select the file object in Salesforce, for instance, Content Version. You can search for “file” to get the correct object.
- Use the drop-down list to select the action, for instance, Create.
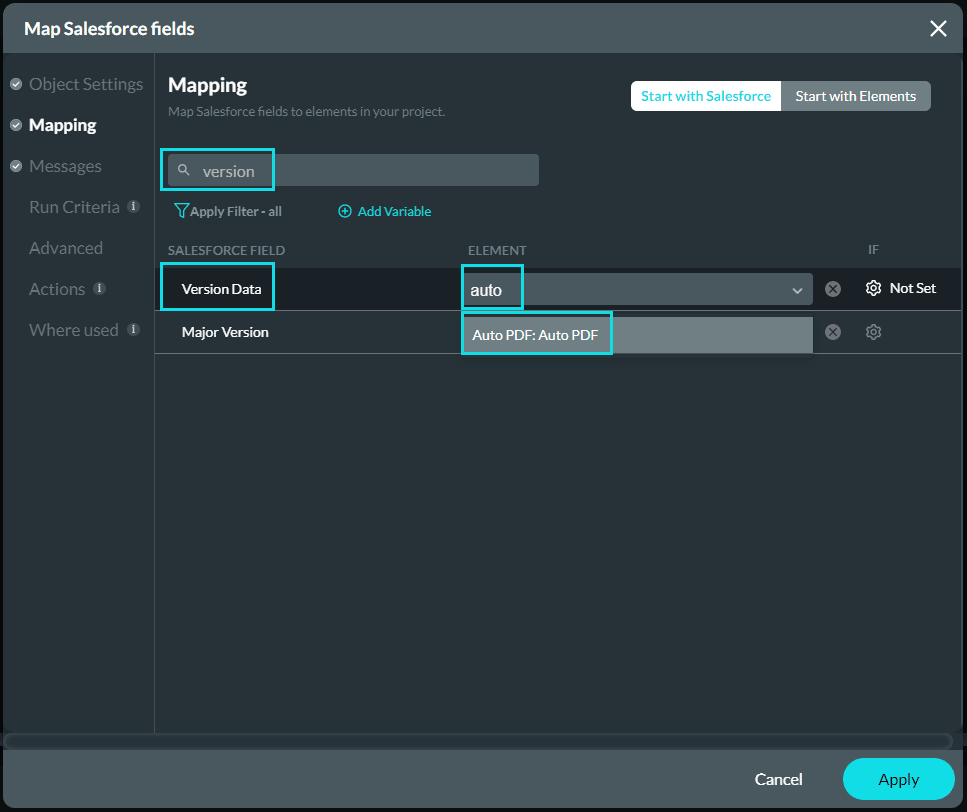
- Under Mapping, search for the Version Data Salesforce field and map it to the Auto PDF element.
- Click on the Apply button.
- On the Salesforce Integration screen, click on the Close button.
- On the Add Node/Salesforce Action screen, select the Push action from the drop-down list and click on the Next button.
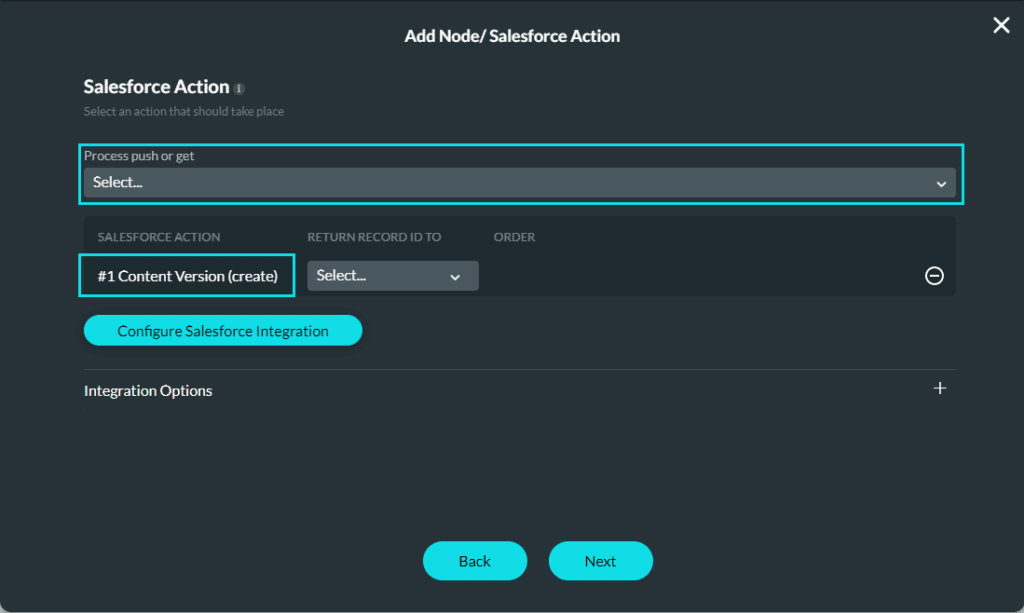
- Add a tag if necessary and click on the Save button. The Salesforce node is added to the On Click screen.
- Click on the Apply button.
Example of Auto PDF
Please refer to the attached example. The project has several input fields and an accordion element.
- The input elements are shown on all the pages.
- Accordion 1 is shown on page 1.
- Accordion 2 is shown on page 2.
- Accordion 3 is shown on page 3.