

Configure Conditions
Business Background
Use the Configure Conditions option to set criteria (or list of criteria) that a user must meet to trigger a resulting action.
How to Video
- 0:02 An introduction to Titan Flows.
- 1:57 We show you how the Flow displays.
- 2:46 Learn how to start a flow.
- 2:52 Discover the different nodes.
- 3:30 We show you how to configure conditions.
- 4:25 Learn how to set up different resulting actions.
How to Guide
- Navigate to Titan Web Application.
- Click the + button above the Settings icon. A list of elements will show.
- Select the Input option from the list.
- Drag and drop an Input element to the canvas.
- Any input that has the Conditions option can be used.
Note:
Alternatively, you can add a condition on an On Click Action.
- Click the Element settings Gear icon. The Element settings screen opens.
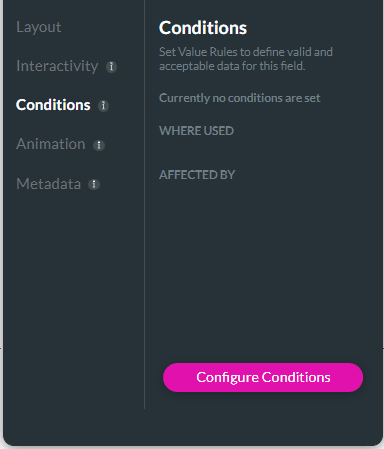
- Select the Conditions option and click the Configure Conditions button. The Set Conditions screen opens.
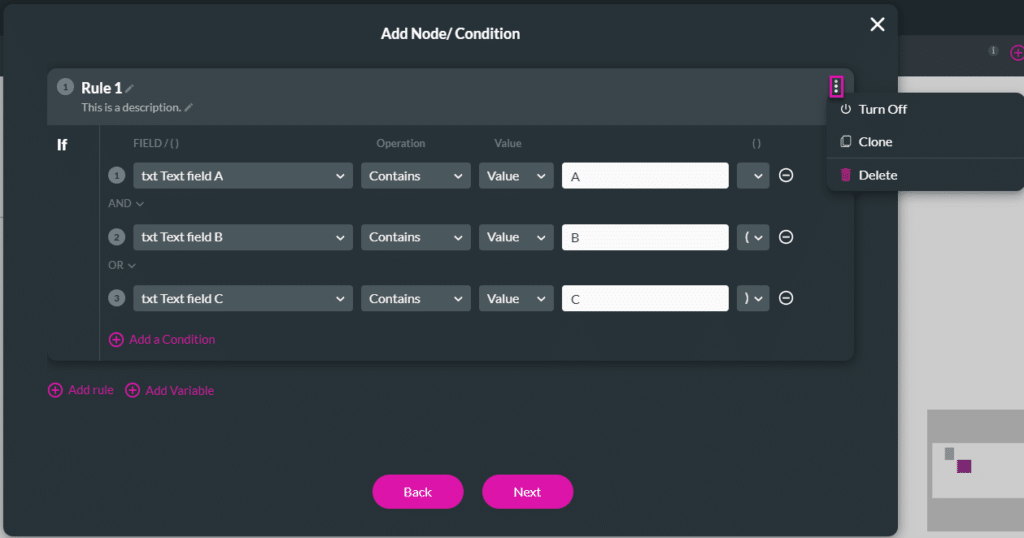
- Click the Kebab icon next to Condition.
- Select the Edit option. The Edit Node screen opens.
- You can configure your conditions using every field and variable available.

Note:
You can create as many conditions as needed in an action flow.
The Condition Rule Node is split into different parts:
- Then: Outline the action that occurs if the user meets the condition criteria.
- There will be a Contains Then action for every rule added that can contain an outcome.
- Else: This creates the action to be followed if the user inputs information that does not match the condition criteria.
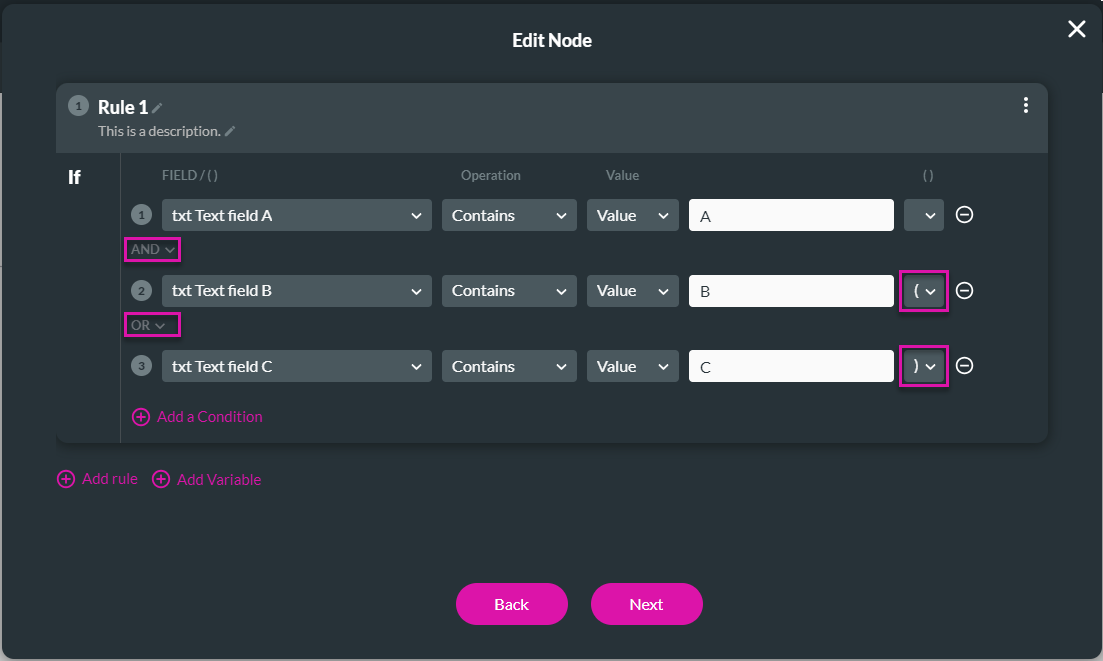
- Configure Rule 1 and click on the pencil icon to edit the name and description of the rule. This assists when identifying the purpose of the condition.
- Configure your rules using the drop-down arrows to create logical operations and specify the acceptable valid data to include.
- AND – Both upper and lower conditions must be met.
- OR – At least one of the upper and lower conditions must be met.
- ( ) – You must use brackets when you have a mixture of AND & OR conditions in order to determine how the conditions should be met. For example, 1 AND (2 OR 3) has a different meaning than (1 AND 2) OR 3.
Note:
Click the Kebab icon to open the modal. You can do the following:
- Turn Off the rule.
- Clone the rule. You can edit the cloned rule.
- Delete.
- Click on the Next button.
- If necessary, add a tag name in the Tag field and click the Save button.
- Click on the + icon. The Add Node screen opens.

- Use the Add Node screen to configure any action to run after the condition is met.

Hidden Title
Was this information helpful?
Let us know so we can improve!
Need more help?
Book Demo