In this example we will provide your with step-by-step instructions for adding a digital signature.
Following are the steps:
1- Create the form
2- Purchase credits
3- Set up a template for document generation
4- Add the digital signature
5- Test the document
1- Create the form
- Create a new blank form.
- Drag a Textbox element (change label to: Name) 
- Drag a signature field - so the form filler can enter his name and sign.
- Give the form a name
- Save the form
2- Purchase credits:
- Enter “My account” page > Billing tab
- Choose “Digital signature” in the inner tabs.
- You will see an empty grid on the left and a “Buy” section on the right.
- Purchase credits via Tranzila:
- Titan certificate is chosen by default, but you can change it and buy a Self certificate.
- Select the number of credits you want to purchase.
- Enter your credit card, expiration date and security code and press on Process.
- Refresh the page after purchase is done and you will see a new transaction line in the table on the left.
In this grid you will be able to view the transaction details and print the receipt.
3- Set up a template for document generation
- Go to ‘properties’ panel > ‘form” tab > settings option > document generation category > Choose PDF mapping
- press on on the “Edit” icon of the default PDF - we will create the most basic PDF for this example. 
- Press on the “Page” icon to upload a scanned PDF of document.
- Now press on the “Element” icon to add fields ontop of it.
- We will add the Name and the Signature elements and place them in a specific location on the doc.
- We will change the font size to 50 - and resize the elements container so the content will not be cut.
- Press on the “Settings” window and turn on the “Preview before submit” checkbox.
4- Add the digital signature
- In the PDF “Settings” window: open the “Digital signature” category.
- Press on “Configure” button.
- Make sure “Show signature” checkbox is turned on.
- Choose position for signature - in this example: Left bottom.
- Specify a padding from the X or Y axis. (in this case: 100px from the X axis)
- A default width and height are specified for the signature container.- don’t change it in this example.
- The generated signature needs to contain a “Reason text” so you will need to specify where to take the value from: either from a field in your form, or from a static value. In this example we gave a static value bט choosing “Other” in the dropdown and typing “Reason”.
- Press on “Apply” and save the form.
5- Test the document
- Publish the form as URL.
- Enter your name and signature.
- Press on submit and a preview of the PDF will open, where you will see the data you entered. At this point you will not be able to see the digital signature because the document is only sealed once it is submitted.
- Press on “Finish” to submit the form.
- Enter your “Submissions” page and add the Manual PDF column to the grid so you can download the generated PDF.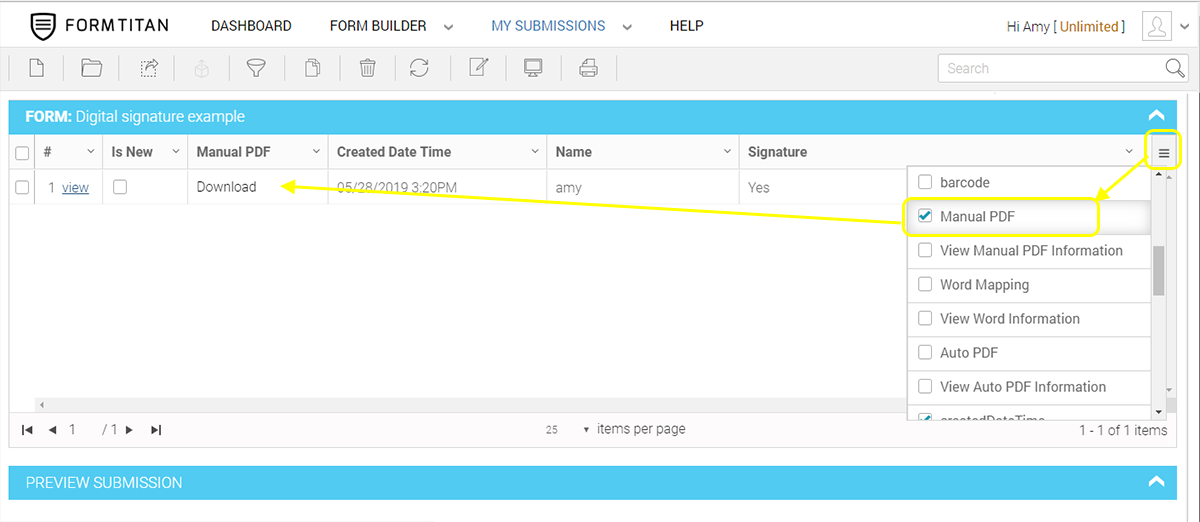
- Press on the PDF link and open the PDF.
- Scroll down and you will see the digital signature seal at the bottom.
Watch the video