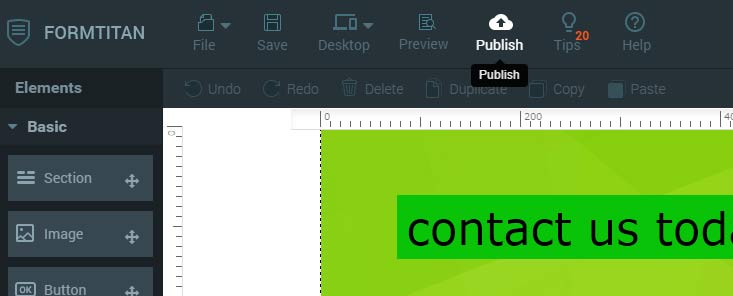
You have several options for publishing your form. Once you are happy with your form, click on the publish button in the upper toolbar.
A publish window will then open with all the publishing options we support.
Simply select the option you need, and a generated code will be created accordingly.
Copy the code and paste it in your website, email, blog etc.
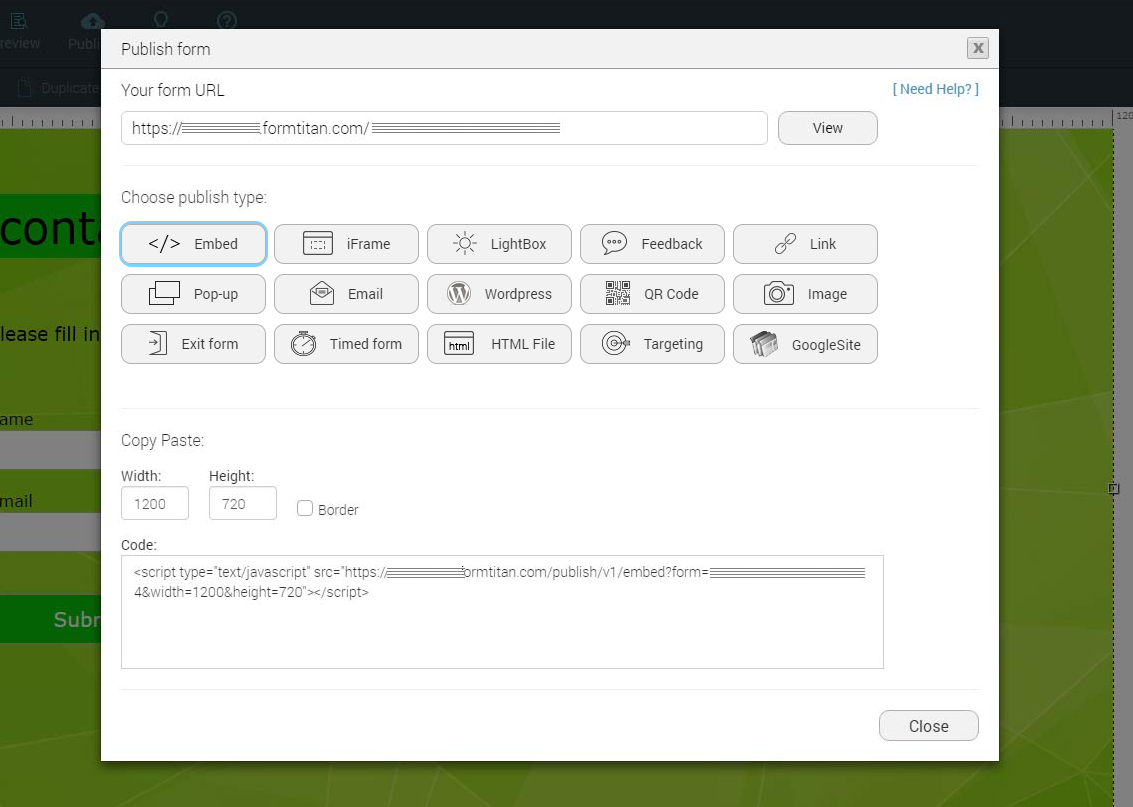
In addition to all the publish options, the publish window first provides you with the form URL. Clicking on "view" will open the url in a new browser tab, enabling you to test it, if you wish.
Following is a list of all the publishing options supported by the Titan:
*In each of the options you can select and modify the properties below (width/height, link text,border, time,traget etc).
| 1- | Embed: Use this option to embed the form within your web page |
| 2- | iFrame: Use this option to embed the form within your web page in an inline frame |
| 3- | LightBox: Use this option to generate a link that opens the form on the page as lightbox. |
| 4- | Feedback: This option adds a button to the bottom right corner of your web page. When pressed -the form opens. You may also choose one of the the 4 button style available. |
| 5- | Link: Use this option to generate a direct link to your form |
| 6- | PopUp: This option generates a link that when pressed it opens a new pop up window |
| 7- | Email: Allows you to send an email containing a link to your form. Simply need to enter your recipient, subject and email body. |
| 8- | WordPress: Generate a code that can be embedded in your wordpress site. |
| 9- | QR Code: Automatically generate a QR code pointing to your form. |
| 10- | Image: This option generates an image of your form, that when clicked it leads to it. |
| 11- | Exit Form: This generated code, when inserted in your web page, makes sure that the form will appear if/when the user tries to leave the page. |
| 12- | Timed Form: Lets you set a timer (in seconds) for when you would like to make the form appear. |
| 13- | HTML File: Generates an HTML code you can use. |
| 14- | Targeting: Lets you send your form to a mailing list or phone list. |
| 15- | Google Sites: Generates a code you can use in google sites. Read More |
Following are instructions on how to publish your form:
| 1- | Enter the form builder and open the form you would like to use. |
| 2- | Once the form is on canvas, press on the "Publish" icon. |
| 3- | Select a publish type and copy the code below. |