Configuring Your PDF Settings
No matter what type of PDF you add to your form (Basic, Dynamic, or Auto PDF) - you will need to configure its settings.
While the Basic and Dynamic PDF settings are the same, the Auto Pdf has a slightly different set of properties, so we will go over them separately.
The Basic/Dynamic PDF Settings
1- |
Press on the "settings" icon to configure the PDF settings. A Modal window will open then containing the settings, organized in 4 categories: - General - Buttons and Labels - Condition - Salesforce Workflow Outbound Message - Salesforce Button - Salesforce APEX Please notice that the first category will be open by default.  General properties: - Preview before submit: turning on this checkbox will allow you to present the filler with a preview to his soon-to-be-generated PDF. It will display the template you created and the data the filler entered in it. So, in fact, when the filler hits the submit button a pop up window will open, containing this preview. Only after the filler presses on the "Finish" button in the preview window it will actually submit the form. Just so you know - The PDF preview window contains 4 icons in the top right corner to help the form filler: Plus (for zooming in), minus (for zooming out), clear (for clearing the zoom) and Print (for printing the PDF). - Print and save: turning on this checkbox will add a saving functionality to the print icon. In this case, pressing on the Print icon will open a dialog for print, and once the printing is approved - it will also submit the form. - Interactive mode: This option will only be available when the 'preview before submit' checkbox is turned on. The interactive mode will allow your form fillers to add or edit data inside the PDF preview window. Once this checkbox is turned on you will be able to choose the fields you want to make interactive. Read more about the Interactive mode - Print page number If your PDF has more than one page you can turn on this option to add a numbers at the bottom of each page. - Format The default PDF format is A4, however you can choose to change it to Letter. - Header This option can enable you to add a header to the PDF using the editor and HTML. - Footer This option can enable you to add a footer to the PDF using the editor and HTML. - Auto preview This option will automatically open the preview window after the form loads, so the filler will be able to "skip" filling in the form.  Buttons & Labels properties: - Finish / Close button text: if you decide to turn on the 'preview before submit' option, you can change the text on the buttons at the bottom of it. - Title: if you decide to turn on the 'preview before submit' option, you can add a title text to this window. - Signature: When a Signature field is added to the PDF and made interactive (by turning on the 'interactive mode' and adding the signature field to the list of interactive fields), It will have a label below it, containing the default text: "Click here to sign". However you can enter a different text in this input box to replace it. - File upload: When a File upload field is added to the PDF and made interactive (by turning on the 'interactive mode' and adding the File Upload field to the list of interactive fields), It will have a label below it, containing the default text: "Click here to upload a file". However you can enter a different text in this input box to replace it.  Email properties: - Custom file name - Here you can enter a name for the PDF you are now creating. This will be the file name of the PDF attached to the email. - Send to owner / Send to additional / Send to form emails : Checkboxes that determine where this paper form will be sent to. 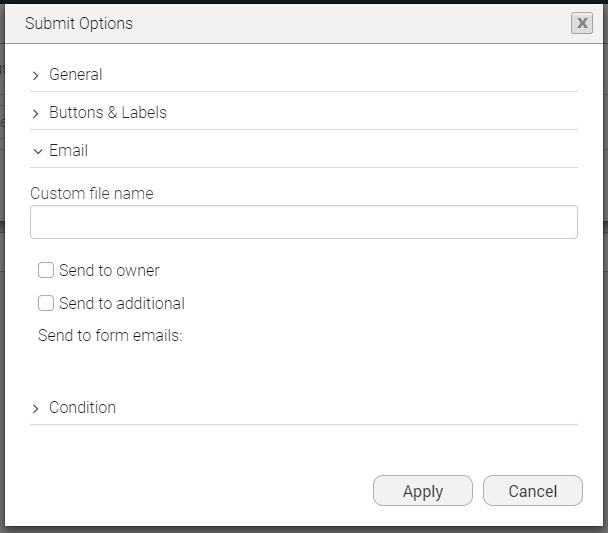 Condition Properties: - Generate Condition: if you decide to turn on this Checkbox you will be allowed to add a condition by which this PDF will be generated. Only if the condition terms are met then the PDF will be generated. - Process upon payment only: turning on this checkbox will make sure that the PDF will be generated only if the payment is executed. - Page Condition: By turning on this option you can set a condition that will make PDF pages hide/show based on the filler's input. 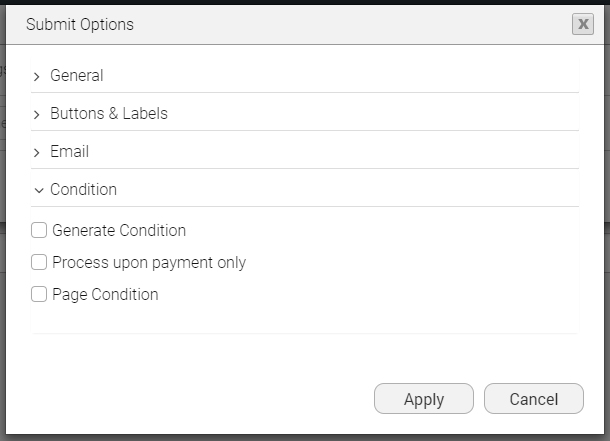 Salesforce Workflow Outbound Message This category is relevant if you want to automate your document generation with a Salesforce Outbound message. Read all about it here: Generate documents using Salesforce workflow outbound message Salesforce Button This category is relevant if you wish to generate documents directly from Salesforce using a button. Read all about document generation using a Salesforce button Salesforce APEX If you're interested in using APEX - this is the category for you. Read more about it here: Apex remote site settings |